Customizing Discourse
Discourse is a powerful, open source forum application built on top of ruby on rails & ember.js.
After playing around with some sites already running the software, I decided I wanted to play around with customizing Discourse to see if I could migrate a popular forum I host to use Discourse.
Setting up the Development Environment
Discourse is a robust application with a lot of moving parts. The Discourse Docs suggest using Vagrant for development, but Vagrant seems like overkill as I don’t want to install VirtualBox and Vagrant on my machine and take hours downloading and installing the required software. Vagrant is a great tool, but the separate images take up too much space on my SSD and setting up the VM takes too long. For this tutorial I’m going to use Nitrous.IO which hosts free, pre-configured development environments in the cloud (I also help build it).
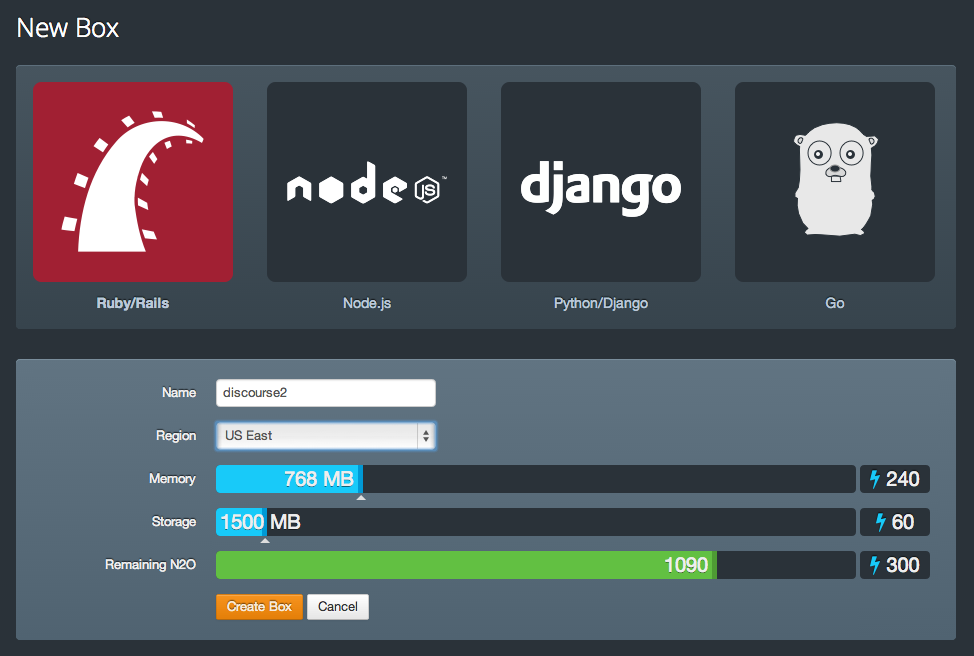
1. Create a new box
Discourse runs multiple services and consumes a fair bit of RAM and storage. I’m going to boot up a box on with 768MB of RAM and 1.5GB of storage to get me started. Discourse recommends 2 GB of RAM and I would recommend you use at least 1GB RAM if possible, but I’m going to try this configuration out. I can always allocate additional resources on Nitrous.IO later.
2. Fork Discourse
If you want to do any customizing of discourse (why wouldn’t you?), you’ll want to fork the discourse repo:
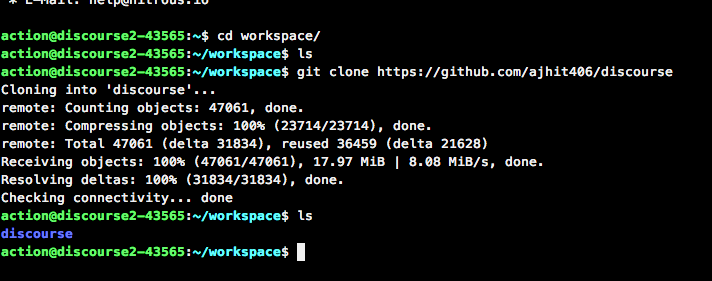
Once you’ve forked the repo, you can jump into the Nitrous.IO IDE and clone discourse to your Nitrous box.
3. Install Dependencies
    sudo apt-get install redis
    sudo apt-get install postgresql
4. Configure Rails App
First, we’ll need to move into the discourse folder and run bundle install:
    cd workspace/discourse
    bundle install
This is probably going to be the most time consuming task of the entire post since discourse uses about 10,000 gems. Of course, we’re not complaining…
    cp config/database.yml.development-sample config/database.yml
    cp config/redis.yml.sample config/redis.yml
5. Configure Postgres and Install Seed Data
Next, we’ll create the development and test databases. We’re going to just keep the legacy vagrant user, even though we’re not using vagrant. You can just copy and paste the following commands one-by-one into the terminal on your Nitrous.IO box:
    createuser --createdb --superuser -Uaction vagrant
    psql -c "ALTER USER vagrant WITH PASSWORD 'password';"
    psql -c "create database discourse_development owner vagrant encoding 'UTF8' TEMPLATE template0;"
    psql -c "create database discourse_test        owner vagrant encoding 'UTF8' TEMPLATE template0;"
    psql -d discourse_development -c "CREATE EXTENSION hstore;"
    psql -d discourse_development -c "CREATE EXTENSION pg_trgm;"
When you’re done, load the seed data:
psql -d discourse_development < pg_dumps/development-image.sqlFinally, we’ll want to load the database migration in rails:
bundle exec rake db:migrate db:test:prepare db:seed_fu6. Starting up Discourse
Now we’ve got our app cloned, gems installed, database created and seed data imported, we’re ready to run the app and check out the preview. In the app’s root directory, run:
rails sThen, in the preview menu at the top of the web IDE, click preview > Port 3000
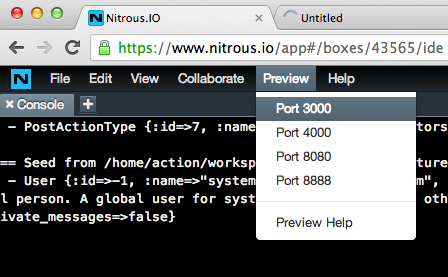
And you’ll see that we’re up and running! w00t!
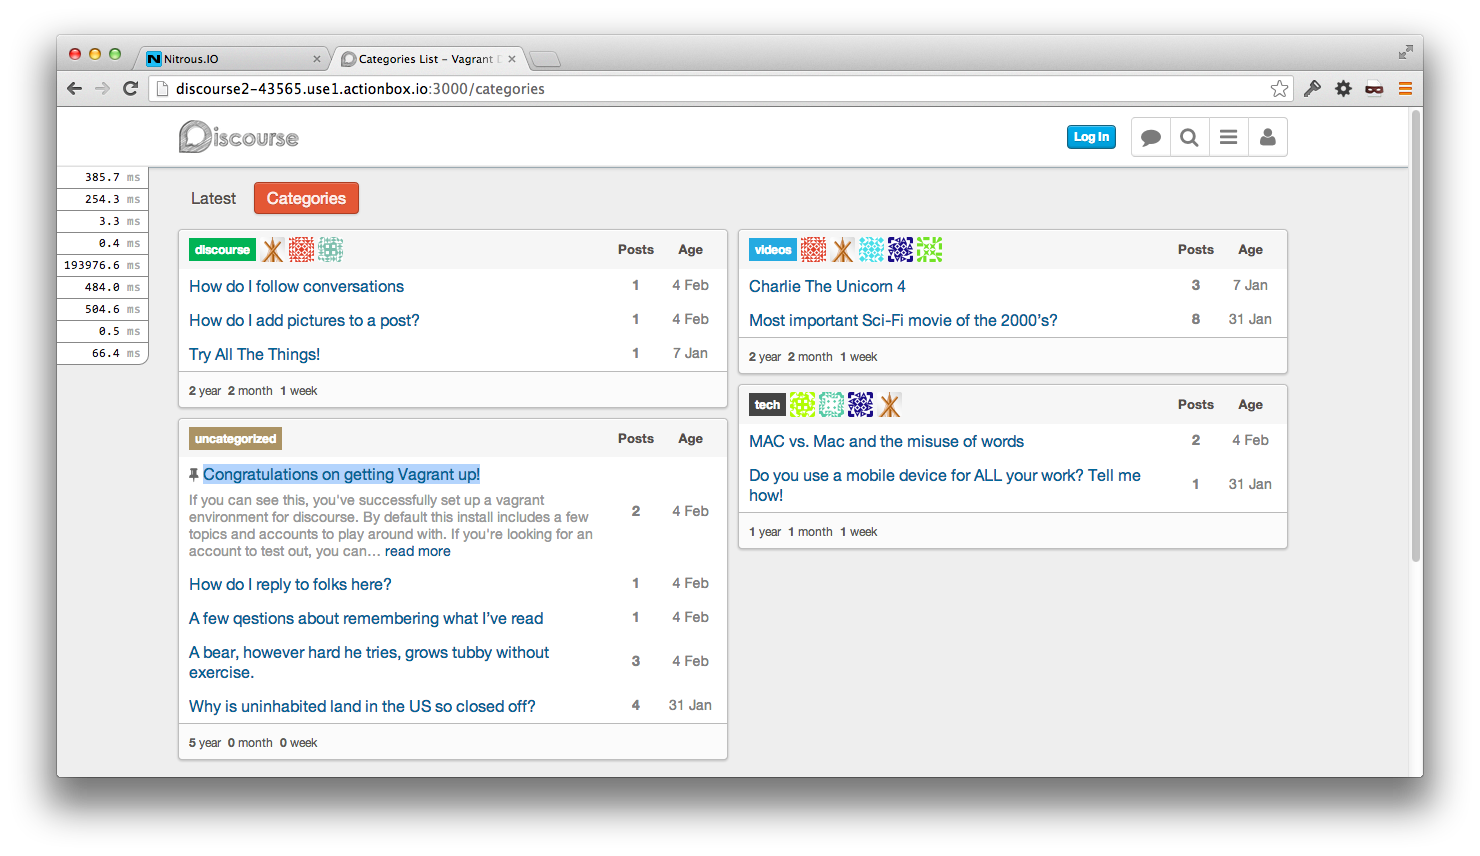
(Note that the first time the app loads, it might take anywhere from 10-20 seconds. This is because discourse has a large amount of client-side code that needs to be downloaded before the app can run)
7. Customizing Discourse
This is a fully functional development environment, and you have your own fork of discourse running so you can customize it as you please, then merge upstream changes as the discourse team continues to improve the system.
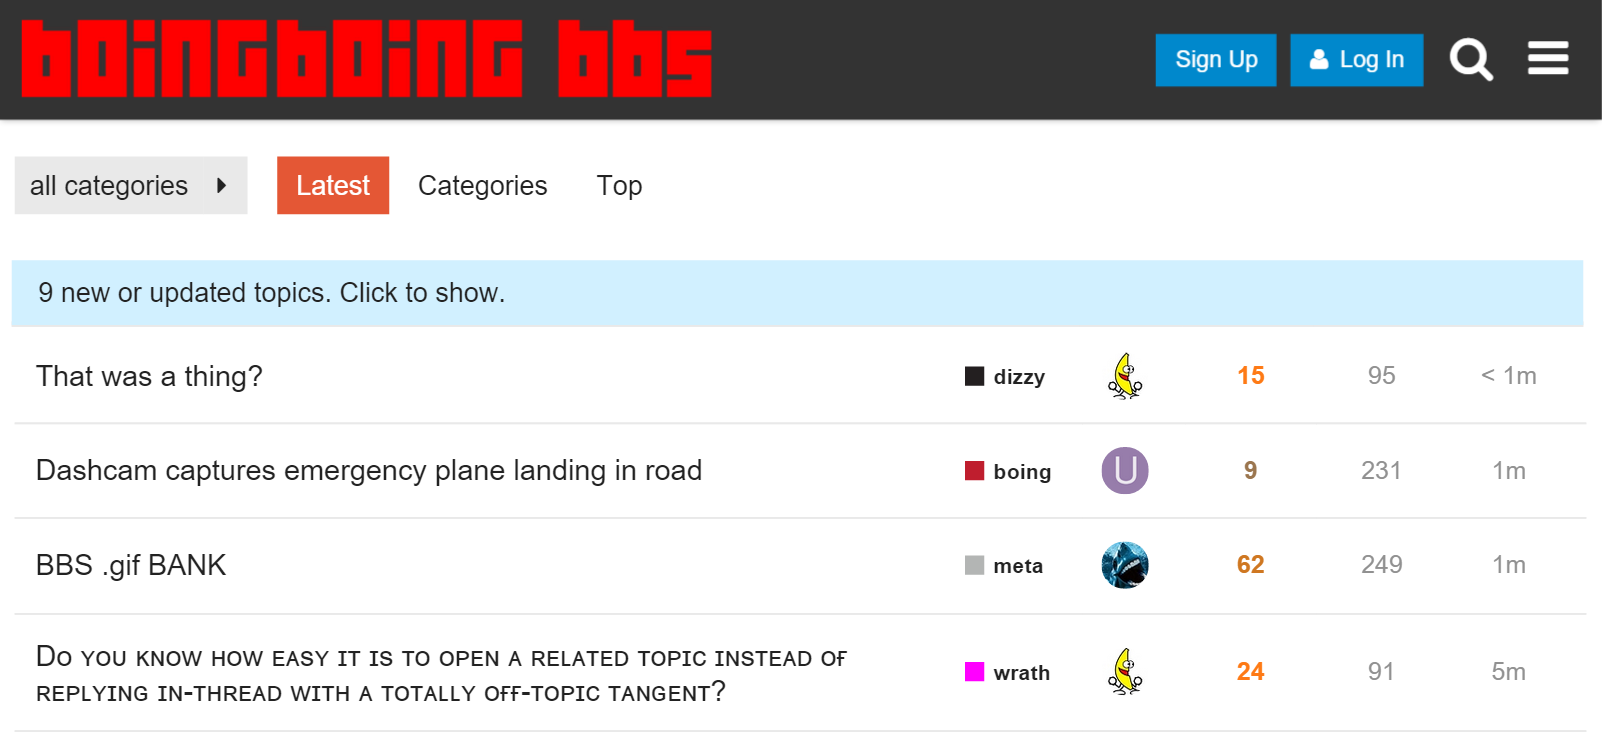
Let’s go ahead and kill those rounded corners on the tables, they’re so not web flat.0:
Change line 43 of app/assets/stylesheets/desktop/topic-list.scss:
@include border-radius-all(0 0 0 0);Line 85:
@include border-radius-all(0 0 0 0);Line 88:
@include border-radius-all(0 0 0 0);And we have square corners on all the topic lists. Very web 3.0, if I don’t say so myself…
![]()
That was easy.